
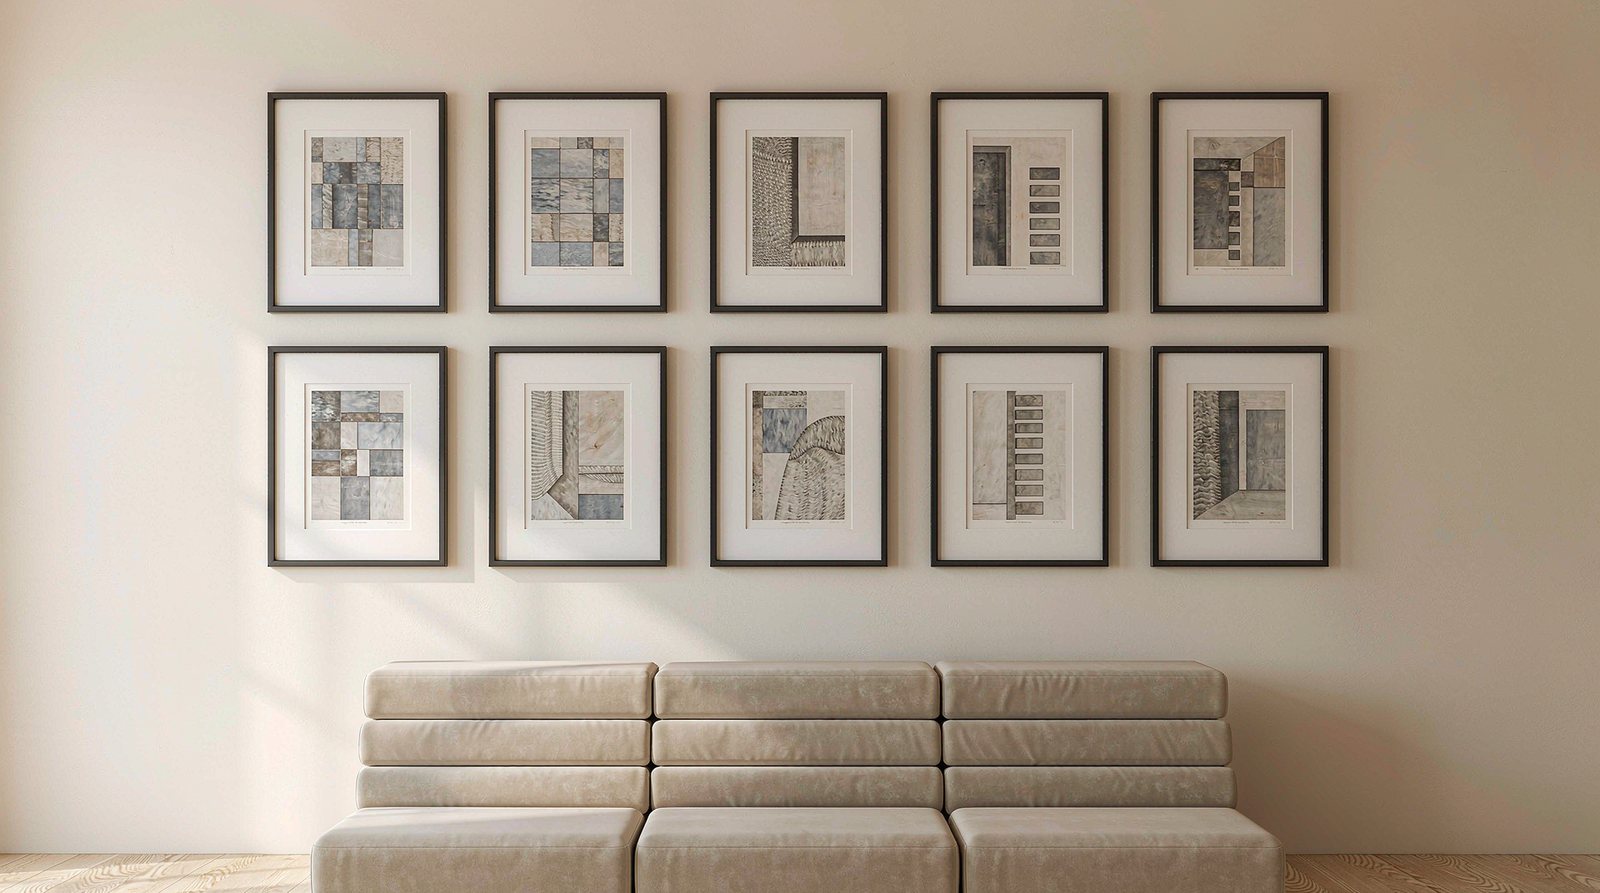
Gallery wall spacing and sizing without a stud finder
A gallery wall in a rental is easy to do badly and easy to do well, and the difference is almost entirely spacing. Even gaps and a consistent distance from the furniture below will carry a collection of frames that would look messy in any other arrangement.
You can get there without a stud finder, but you need the spacing worked out in advance.
The spacing numbers
Two inches between frames is the standard starting point and it looks right on almost every wall. The gap should be the same in every direction, and every frame should be the same distance from the ones beside it, whether the frame is tall or wide.
To get consistent gaps with frames of different sizes, measure each frame, add two inches to every gap you need, and lay the whole arrangement out on the floor before it goes near the wall. Ten frames with eight internal gaps means one hundred and forty inches of frame plus sixteen inches of gap, which is the total width of the finished wall.
Laying it out on the floor is the step people skip, and it is the reason gallery walls end up lopsided. It costs twenty minutes and it is the only way to find out you have bought frames that do not fit the wall before they are on it.
How high above the sofa
Six to eight inches above the sofa back is the usual range, and it depends on the height of the frames. Tall frames can sit lower without crowding the sofa. Short frames sitting eight inches up look like they are floating away from it.
The bottom edge of the arrangement should be level. Whatever you choose, every frame does not have to be at the same height, but the lowest point of the whole arrangement should be one straight line across, otherwise the arrangement looks accidental.
Sizing it to the wall
A gallery wall should take up between two thirds and three quarters of the width of the wall it is on. Much wider and it stops reading as one arrangement. Much narrower and the wall looks like it has a small collection on a very large surface.
Width is easier to adjust than height. Adding a frame is easy. Adding height means checking the ceiling is still a sensible distance above the top of the arrangement, so plan the height first and fill the width afterwards.
Getting it onto a rented wall
There are two approaches, and the second is usually better.
A picture ledge, fixed with adhesive, holds the frames leaning against it. You get the even spacing for free, because each frame sits on the same shelf, and you can rearrange or take everything down in ten minutes with no residue.
Hanging each frame directly with adhesive strips is possible but fiddly, because you need to mark every position on the wall first and the wall then carries marks in its own arrangement. Marking lightly with a pencil and cleaning it afterwards is fine on painted masonry, and not worth doing on plasterboard.
Whatever you choose, tape the layout onto the wall with low tack tape before you commit. It costs nothing, it comes off cleanly, and it is the only way to avoid a dozen holes in a wall you do not own. The no-drill guide covers each mounting option, and the curtain height guide covers the other measurement that sets the proportions of a room.